Yesterday the much anticipated C-57 arrived.
After a quick clean and lube it was running quietly and smoothly about the layout, as expected from a Kato.
Turning it into the Erie K5A should be interesting. The drivers are about right, they mike out to 75.6" at the tread which is only a tad bit short of the prototype's 79" drivers. At the flange they mike out to 84.4" but comparing it to the pictures of the K5A it shouldn't throw things off too much.
I have not yet been able to disconnect the tender but it appears to have the same attaching arrangements as the Kato Mikado. I will have to figure out a way to get this to cross over to the larger 6 axle tender I have to put on it. Also, the shells are going to be difficult. The Arnold shell will require quite a bit of hollowing out, which will take a while since it is a cast metal shell. The Atlas carved out nicely and ended up being a few millimeters short. Since the Arnold shell has piping cast on that is not present on the prototype it might be easier to lengthen the Atlas shell. Either way, the project moves forward.
I had a medical procedure today (I don't want to talk about it, suffice it to say it was age related and requires a day of prep previous; if you don't get it you will when you reach the half century mark) so I was out of the house when the mail came. My wife, being the sweet thing she is, drove me to the procedure and afterwards, since we were near the train shop took me over there to see about getting a couple of decoders. They didn't have the decoders, but they did have this PB1.
Once it is painted in blue and striped in yellow it should match right up to its PA1 mate.
It was a disappointment not to be able to get the decoders I was after though, because I was anticipating the arrival of this Burlington SD7 (and it is an SD7, marked on the sill plate as such, even though under the shell it is identical to the SD9), and when I got home it had indeed arrived.
Hopefully it won't be as onerous to chip as the SD9 was, and as soon as it does have DCC installed it can take its place in the consist helping the Redbird out.
I think they will make a really nice pair.
Showing posts with label SD9. Show all posts
Tuesday, June 27, 2017
Tuesday, October 18, 2016
That's Better
Ever since I did the truck modification on my SD7/9 (whatever it really is see picture below) and attempted the first DCC decoder installation I have been disappointed with the pulling power of the locomotive. Before I started messing with it the darn thing would pull like a plow team, but since then it has been slipping and losing traction all over the place.
I thought maybe the wheels were dirty, so I picked it up, flipped it over and started checking the wheels...only to find out all three sets of wheels on the rear truck were freewheeling. D'oh! It seems that during the reassembly I let the idler gear that transmits the power from the worm gear (the worm is the one on the motor, the worm gear is the one that the worm engages) to the wheel gears slip to the wrong side, so it not only was not engaging the worm gear, but it also was not engaging the wheel gears.
Since the truck modification more or less permanently installs the trucks to the frame I had to remove the worm from the tower and fish the worm gear out through the top. I was then able to slide the idler over into the right place, reinstall the worm gear and the worm, and voila! the damn thing pulls like a plow team again.
This is a good thing since I decided that I didn't have a team track at my freight station and really needed one. This of course means I have to have a flatcar or two and maybe a few more boxcars and such so that various deliveries can be made to the team track. More cars means the engine has to be able to handle more load, which it certainly couldn't do as a Front Truck Drive only locomotive.
After initially working well, however, the turnout I put on the team track has decided it really doesn't want to conduct power to the diverging route any more. I should have put a feeder on the team track anyway, so it looks like the easiest corrective action will be to do just that. I also have a rail joiner or two that isn't conducting, so either I need to put in more feeders or I need to solder some joiners.
Either way, it looks like I have a future engagement with my soldering iron.
UPDATE: Well, it looks like that question is solved at least. And, since there is an F on the short hood side it looks like the Burlington ran their locos short hood forward, which means I have it wired backwards. Of course.
Sunday, October 2, 2016
Success!!!
My last DZ126 Digitrax DCC decoder has been installed into the 
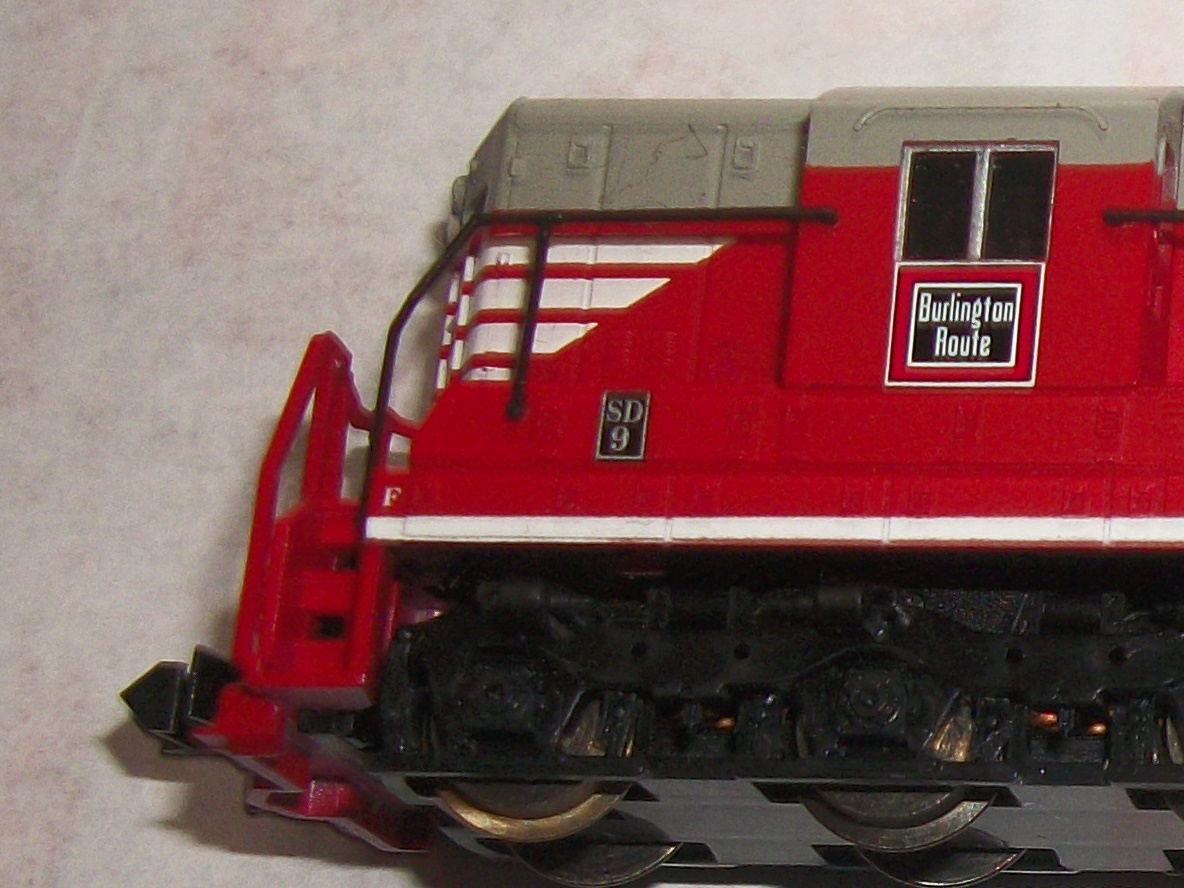
SD7 SD9 (explanation below).
There were a few things that were kinda screwy, and it's probably all my fault anyway but I did get everything straightened out.
First off, when wiring in a decoder the red wire goes to the right side pickups of the locomotive and the black wire goes to the left. The motor brush that once was connected to the right gets the orange wire and the other motor brush gets the gray wire.. The blue wire goes to both headlights, the yellow wire goes to the back light and the white wire goes to the front light.
Before the mod the bottom brush on the locomotive was connected to the right contacts and the top brush was connected to the left contacts. I wired up the decoder as specified with the orange wire to the bottom motor contact and the gray to the top motor contact, and then I put it on the track.
Operating in DC mode the lights did not come on at all, which I thought was kind of screwy but OK. Then I connected the DCC controller and programmed the loco...and the wrong headlight came on. The motor however ran just fine, just like it was supposed to, so no big deal. Back to the soldering bench, reverse the yellow and white wires and now the headlight on the leading end of the locomotive comes on when it is supposed to.
However, there was another problem, and the headlights should have clued me in. You see, when I actually paid attention to the NCE controller display I found the locomotive was running backwards.
How this happened I have no idea, but the instructions were clear so I should have known; the instructions clearly state to connect the gray wire to the bottom motor tab and the orange wire to the top (the link goes to a TCS decoder installation page but the wire colors are identical). Why the locomotive ran properly in DC is anyone's guess, perhaps I was incorrect in thinking the red side contacts were the positive leads.
At any rate the issue is easily solved, back to the programming track and change the locomotive direction bit (CV29 bit zero) and all is well. This bit is supposed to be used to reverse the direction of the loco in consists or when you want to run it backwards; IE if it is designed to run long hood forward like the SD9.
In my case I wanted the loco to run short hood forward; if I had wired the motor correctly it would have and I would not have had to swap the lights. The direction bit isn't supposed to be used to correct motor wiring, but since I had already switched the headlight wiring it worked out.
Or maybe, since the only difference between the SD7 and the SD9 was the prime mover (the diesel motor), and since (according to the Wikipedia article) Burlington locomotive 346 is actually an SD9, I had it wired correctly all along...except for the original headlight wiring, which was incorrect because I mistakenly thought the short hood was the front.
UPDATE: Or not...the F on the short hood end indicates the front, which means I did have the motor wired backwards to begin with...and now the headlights too. Of course. And, the locomotive is clearly marked as an SD9. And also of course, the answer was right there all along.
Anyway, it now has a decoder, the decoder works, it programmed correctly, and I have it running in the direction I want it to run. Also, with the previously DCC'd K4, the entire railroad is now DCC when running the usual locomotives, and I now have seven locomotives I can run on the club tracks (well, six actually since the first loco I successfully converted, a Model Power Pacific, is in for repaint).
And now I am all out of decoders, at least until the broken one returns from Digitrax. I haven't yet decided what my next victim will be...
Subscribe to:
Comments (Atom)


