I finally got the DCC setup installed and working.
Installing the system was simple, I installed a DPDT switch connected to the common rail and Atlas track switch panel, connected one side of that DPDT switch to the DC controller and hooked the DCC connection panel up to the other side of the DPDT. That way the layout is either all DC or all DCC so there is no danger of running from one into the other and causing system or locomotive damage.
Second was to program my locos. I have two locomotives, a matched set of Bachmann GP7's, that are DCC equipped. I threw all the track switches except the front main to the center off position and placed the locos one at a time on the front main for programming. One of them went just fine, but the other one didn't want to run. The lights would come on when commanded, but when I pushed the throttle up the loco moved, then the lights dimmed and it slowed to a stop.
I threw the master mode switch back to DC and tried it that way with the same results. I put the first loco back on the tracks and it wouldn't move at all. I threw the master mode back to DCC and the first loco ran like a champ again. Definitely something in its programming then, a problem for another time.
I took the shell off the second locomotive...which was a chore in and of itself, those things are on TIGHT...and removed the decoder. There are two little springy contacts that supply power to the decoder, I bent them out a bit and reinstalled the decoder, and then the loco worked as it should in both DC and DCC.
On to the first loco. I tried a factory reset according to the manual but this did not solve the issue. tried a factory reset on the second loco and then it wouldn't work on DC although it worked like a champ on DCC, just like the first one (and completely opposite of what I wanted). Off to the internets!
The issue, according to the internets, was the decoder dual mode function was set to off. The dual mode function was included in a thing called CV29, whatever that is. More digging reveals a CV is a Configuration Variable, and there is a table that shows what they all do. All very well and good, but how do I know what to set them to? More internet digging!
Fortunately the Digitrax site has some Control Variable (CV) calculators that I was able to use to determine the bit that sets the dual mode (DC/DCC) on or off. As expected, when I checked it the bit was set to off. I programmed them each for dual mode again and once more I am able to run both locos on either DC or DCC as I wish.
In my experimentation I found two of my turnouts aren't quite up to par as the locomotives short on the frogs, so I'll have to work on them a bit, but so far everything is working as it should. One thing that annoys me about this particular setup is I am apparently not allowed to run DC locomotives using the DCC controller. Not a big issue I guess since I am able to switch the master modes over, but if I had a larger layout it might become a factor.
At any rate, the NCE Powercab is working as it should and I'm having fun with it.
Saturday, January 2, 2016

Wednesday, December 30, 2015
A Visit from St Nick
While I was away on vacation the following items arrived at the PVRR Corporate Office:


The DCC system will be installed on the Clarinda layout and one of the three long haul tenders will be used for an Erie K5A project. The other two will likely find themselves behind Atlas locomotives, most likely Pacifics as well. But first, more on the Erie K5A.
This is Erie K5A number 2943. Her last engineer was a fellow named Jones, who just happens to be my wife's maternal great-grandfather. She was replaced by an Alco PA1 and Mr. Jones was the first engineer on that locomotive. I gathered this information from a couple of pictures that my wife's grandmother had and thought it might be a nice build.
The next step in the K5A project will be the procurement of a suitable JNR C57 chassis for the boxpox driver sets. I have a spare Atlas Pacific shell and various bits and pieces off of both Atlas and Model Power Pacific locomotives for what I hope will be the proper cylinders and trailing truck. The rest will be Details Associates pieces and polystyrene.
The DCC system is a new venture for me. As far as I know only two of my locomotives have decoders, a matched Bachmann GP7 set, so I am going to be learning all about DCC with them. Time will tell if I decide to stick with DCC, but since the model railroad club I am joining next month is all DCC it is likely I will be converting at least one or two steamers, too...including the K5A most likely.
I hope Santa was good to you as well.

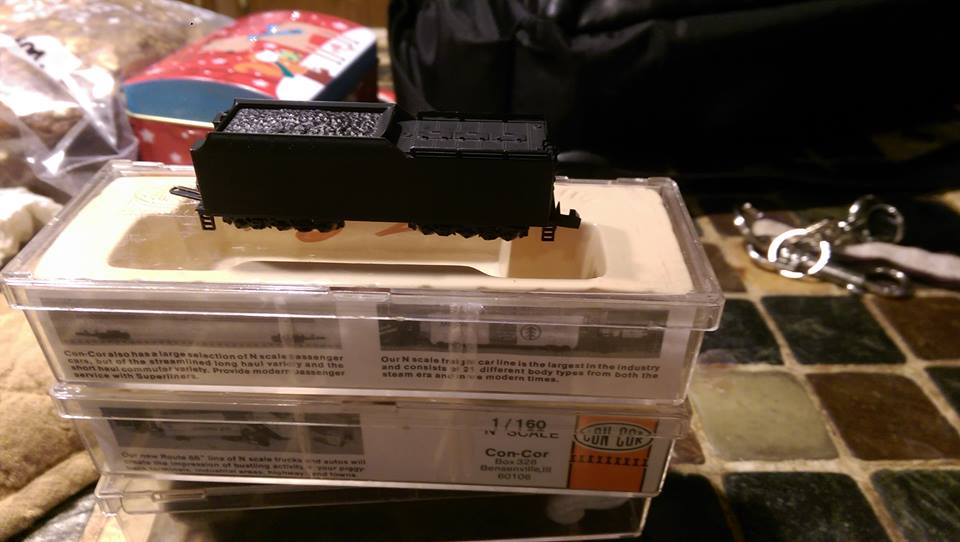
The DCC system will be installed on the Clarinda layout and one of the three long haul tenders will be used for an Erie K5A project. The other two will likely find themselves behind Atlas locomotives, most likely Pacifics as well. But first, more on the Erie K5A.
 |
| Photo from http://lists.railfan.net/erielackphoto.cgi?erielack-02-24-07/Erie_2943_Marion_9-26-49_Ron_Dukarm.jpg |
This is Erie K5A number 2943. Her last engineer was a fellow named Jones, who just happens to be my wife's maternal great-grandfather. She was replaced by an Alco PA1 and Mr. Jones was the first engineer on that locomotive. I gathered this information from a couple of pictures that my wife's grandmother had and thought it might be a nice build.
The next step in the K5A project will be the procurement of a suitable JNR C57 chassis for the boxpox driver sets. I have a spare Atlas Pacific shell and various bits and pieces off of both Atlas and Model Power Pacific locomotives for what I hope will be the proper cylinders and trailing truck. The rest will be Details Associates pieces and polystyrene.
The DCC system is a new venture for me. As far as I know only two of my locomotives have decoders, a matched Bachmann GP7 set, so I am going to be learning all about DCC with them. Time will tell if I decide to stick with DCC, but since the model railroad club I am joining next month is all DCC it is likely I will be converting at least one or two steamers, too...including the K5A most likely.
I hope Santa was good to you as well.
Tuesday, November 17, 2015
Projects
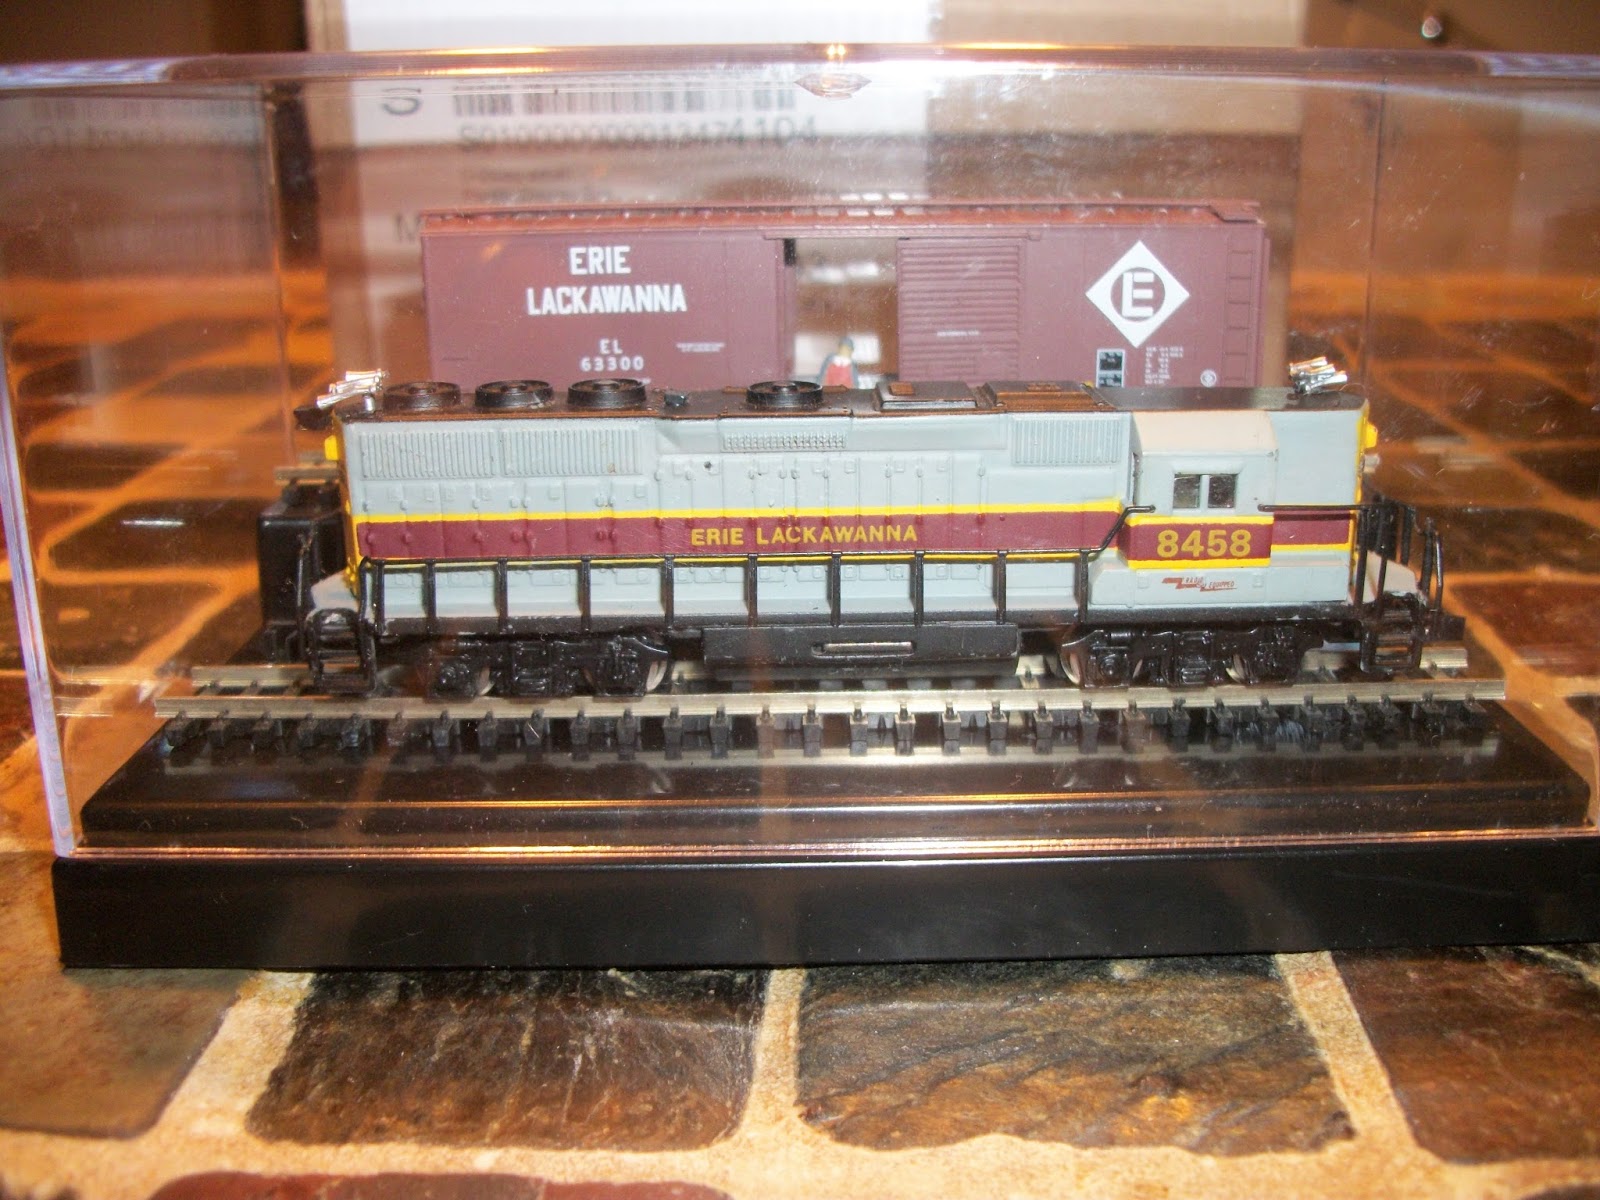
My wife's grandfather was an engineer for the Erie Lackawanna Railroad, and since I am known to be a train nut my mother in law asked me to make a little something for her to commemorate his service to that road.
My wife ventured the idea to put a boxcar in a display case, which I thought was a good one, and to that end I ordered off of Ebay the boxcar pictured below and a 4"x2" display case.

As you can see the boxcar is a 60 foot unit that scales out (60x12/160) to be about four and a half inches long, not counting the couplers. What that means is it is never going to fit in that 4 inch box.
So, back online I went to find a larger box, which I did, and at the same time I found this Bachmann SD50 locomotive for a pretty attractive price. So, I thought I would put both the locomotive and the boxcar in the new larger display case since there is going to be room for it.
Of course I did have to test-run the locomotive. It ran well with my SD7 but after one lap you could smell the motor...which is pretty typical for the old white-box Bachmann train set locomotives and kind of what I was expecting out of it anyway. So my plan is to pull the motor out of it and wire it up to a 9v battery and switch so that it can sit on the display track with the headlights on.
The new display case should be here in the next day or so and after that construction can commence. The new case has a detachable pedestal that runs the length of the box that I hope is hollow so that the battery can fit into it. If it is I will drill some holes into the locomotive frame and attach it with screws that can also be used to run the juice to it for the lights. The loco will sit on the pedestal and the boxcar will be on the base below and in front of the pedestal. The switch for the lights will be on the backside where it is not seen when the case is on a shelf.
My wife tells me I'm going way overboard for this simple project, but if it works it's going to look really cool.
UPDATE: It came out really well, and Grammy loved it.

She sent me a pic (that I didn't have saved to this computer) of it flanked by pictures of her father, one standing with his crew in front of his new PA1 and one of him in the cab of his K5A Pacific steamer. If I had seen them first I would have gotten a PA1 instead of the GP50 to put in the box, but it did give me the idea to start a new project building his Erie K5A.
My wife ventured the idea to put a boxcar in a display case, which I thought was a good one, and to that end I ordered off of Ebay the boxcar pictured below and a 4"x2" display case.

As you can see the boxcar is a 60 foot unit that scales out (60x12/160) to be about four and a half inches long, not counting the couplers. What that means is it is never going to fit in that 4 inch box.
So, back online I went to find a larger box, which I did, and at the same time I found this Bachmann SD50 locomotive for a pretty attractive price. So, I thought I would put both the locomotive and the boxcar in the new larger display case since there is going to be room for it.
Of course I did have to test-run the locomotive. It ran well with my SD7 but after one lap you could smell the motor...which is pretty typical for the old white-box Bachmann train set locomotives and kind of what I was expecting out of it anyway. So my plan is to pull the motor out of it and wire it up to a 9v battery and switch so that it can sit on the display track with the headlights on.
The new display case should be here in the next day or so and after that construction can commence. The new case has a detachable pedestal that runs the length of the box that I hope is hollow so that the battery can fit into it. If it is I will drill some holes into the locomotive frame and attach it with screws that can also be used to run the juice to it for the lights. The loco will sit on the pedestal and the boxcar will be on the base below and in front of the pedestal. The switch for the lights will be on the backside where it is not seen when the case is on a shelf.
My wife tells me I'm going way overboard for this simple project, but if it works it's going to look really cool.
UPDATE: It came out really well, and Grammy loved it.
She sent me a pic (that I didn't have saved to this computer) of it flanked by pictures of her father, one standing with his crew in front of his new PA1 and one of him in the cab of his K5A Pacific steamer. If I had seen them first I would have gotten a PA1 instead of the GP50 to put in the box, but it did give me the idea to start a new project building his Erie K5A.
Thursday, November 5, 2015
I've Been Remiss

I did, of course, open the box for a quick peek and it looks like it's going to be a fun build. There is enough interior to detail it if I want to and metal castings for benches and such.
Now I just need a good place on a layout to put it.
Sunday, October 18, 2015
Incoming
I just got word today that my reserved Nn3 model of Orbisonia Station has shipped. It should be here sometime next week. This has been a long-awaited project and it is likely to be a single-shot due to the general lack of interest, which is sad, but at least it did get done.
When it arrives, work schedule and personal life permitting, I will document the build.
I just hope I can do it justice.
When it arrives, work schedule and personal life permitting, I will document the build.
I just hope I can do it justice.
Thursday, September 24, 2015
K4
Remember when I said I wished Bachmann would do a 4-6-2? Well, they did, and not only did they do a 4-6-2, they did a Pennsylvania RR K4 in several different varieties.
It's a bit pricy with an MSRP of $399.00, but most of the retail outlets I've seen have them for $299 or less. It comes equipped with DCC and sound, two things that I really don't need that undoubtedly run up the cost, but that's the wave of the future and one day I'm sure I will upgrade to DCC myself.
These look to be very nice locomotives, and I certainly hope Bachmann takes this opportunity to put the chassis under other road names as well. There is, after all, a large hole in the market to be filled with a decent running Pacific in N scale.
I'm saving my nickels and dimes for one now.
 |
| Bachmann stock photo, pre-war K4 in Brunswick Green with red and gold striping |
 |
| Bachmann stock photo, post-war K4 with modern pilot |
I'm saving my nickels and dimes for one now.
SCARM
SCARM is the acronym for Simple Computer Aided Railroad Modeling, free track planning software that encompasses most every scale (including TT and FastTracks turnouts). I use it because it is simple and easy to learn, and best of all, FREE.
I'm happy to announce there is a new version available here. I've also added a link to the SCARM blog where you can learn more about the software and find some tips and tricks for using it. All of the layouts that you see here were created in SCARM. I highly recommend it for anyone who is looking for track planning software.
(I was not compensated in any way for this article, I am just a satisfied user.)
I'm happy to announce there is a new version available here. I've also added a link to the SCARM blog where you can learn more about the software and find some tips and tricks for using it. All of the layouts that you see here were created in SCARM. I highly recommend it for anyone who is looking for track planning software.
(I was not compensated in any way for this article, I am just a satisfied user.)
Subscribe to:
Posts (Atom)