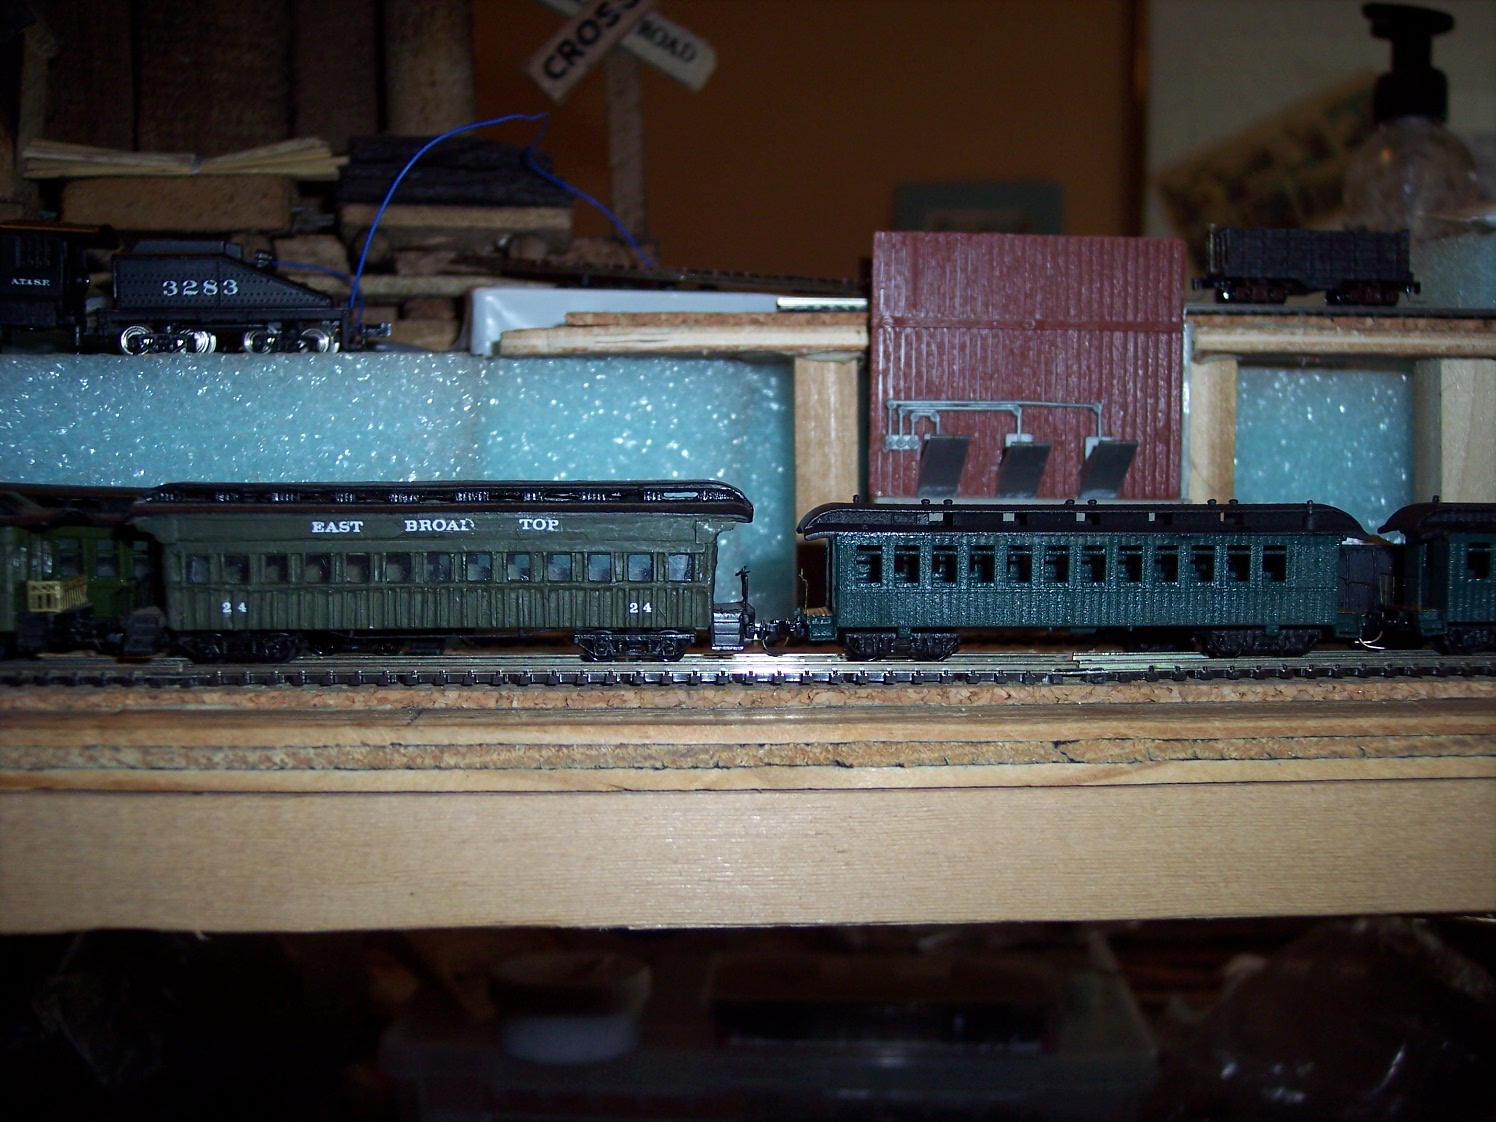
Three of the four Shapeways passenger cars; two coaches and a baggage car. The combine was, unfortunately, destroyed by my rough handling. These cars are fragile!
They are smaller than the converted Bachmann cars I have, they aren't as tall and have no letterboard. Part of this is due, I think, to the RLW roof I have on Coach 24. I should have trimmed off some of the Bachmann's letterboard, in comparison to the Shapeways car it looks encephalitic.
Parlor car 20 has the original Bachmann roof so it isn't as bad, but it is still taller than the Shapeways cars. The picture is a bit blurry because the camera chose to focus on the background (one day I'll have to learn to use the settings instead of the automatic functions), but it shows the difference in car heights. (Yes, I know, I need to put battens on the parlor car under the window trim. Yes, I know, the center window isn't actually on center on one side of the prototype. It's an N scale model, give me a break.)
One thing I should have done and didn't is put "glass" in the Shapeways cars. I didn't think it would make a big difference, but it definitely does. Clear plastic from the coupler packages would have filled the bill quite nicely. I will do this in the future, but the roofs are glued on these cars and they would be destroyed if I tried to remove them, so they are going to stay the way they are.
In conclusion, the Shapeways cars are a quick and easy (and inexpensive) way to expand your varnish fleet, they are easy to assemble and the results are good. Just be careful with them and they should do fine.
Sunday, May 27, 2012
Saturday, May 26, 2012
Shapeways
As expected the Shapeways cars arrived just in time for the trip to Florida.
When I got back I was able to get them painted up and I have assembled one of the three bay cars. Unfortunately one end platform on each of the two bay cars have been damaged, so I will have to rebuild them before I can put them together.
The cars are much easier and therefore quicker to build than the RLW ones because the end platforms are already built. For this initial evaluation I didn't bother building anything else up, but the cars can be detailed with brass wire grab irons, styrene brake platforms, and brass brake wheels like the RLW cars would be and should look pretty good when they are done.
First impressions of the three bay cars: They are roughly the same size as the RLW cars, as they should be. The RLW cars have a white metal bottom which the Shapeways car lacks, so the Shapeways car is lighter. This will likely cause problems with running them, but the good news is you can pull more of them.
Also nice is the trucks. For the first time ever the proper Vulcan trucks can be had. I had been using Z scale Bettendorfs, which worked but weren't quite right. Now they are right.
The trucks are available separately, so I will be putting them on the rest of my hopper fleet as well.
I also built up some of the passenger cars from Shapeways as well. They are pretty nice little cars, but they are fragile, I got the coaches done but I destroyed the combine while I was putting it together. I'll have to get another one to complete the set. The baggage car arrived without trucks, so I'll be using MicroTrains trucks on it when I put it together. Pictures will be up soon.
When I got back I was able to get them painted up and I have assembled one of the three bay cars. Unfortunately one end platform on each of the two bay cars have been damaged, so I will have to rebuild them before I can put them together.
The cars are much easier and therefore quicker to build than the RLW ones because the end platforms are already built. For this initial evaluation I didn't bother building anything else up, but the cars can be detailed with brass wire grab irons, styrene brake platforms, and brass brake wheels like the RLW cars would be and should look pretty good when they are done.
First impressions of the three bay cars: They are roughly the same size as the RLW cars, as they should be. The RLW cars have a white metal bottom which the Shapeways car lacks, so the Shapeways car is lighter. This will likely cause problems with running them, but the good news is you can pull more of them.
Also nice is the trucks. For the first time ever the proper Vulcan trucks can be had. I had been using Z scale Bettendorfs, which worked but weren't quite right. Now they are right.
The trucks are available separately, so I will be putting them on the rest of my hopper fleet as well.
I also built up some of the passenger cars from Shapeways as well. They are pretty nice little cars, but they are fragile, I got the coaches done but I destroyed the combine while I was putting it together. I'll have to get another one to complete the set. The baggage car arrived without trucks, so I'll be using MicroTrains trucks on it when I put it together. Pictures will be up soon.
Sunday, May 6, 2012
Prep Work
I finally have the bell and pilot ordered for the 4-4-0, and while I was on an ordering kick I ordered the end rails I need for these, one set each of these, and the wheelsets and couplers required for all of them.
I'm expecting them all to arrive sometime next week, just in time for me to go to Florida and help Pop-In-Law to clean out his garage and not get a chance to do anything with them.
Stay tuned!
I'm expecting them all to arrive sometime next week, just in time for me to go to Florida and help Pop-In-Law to clean out his garage and not get a chance to do anything with them.
Stay tuned!
Thursday, April 26, 2012
4-4-0 Conversion, Part 2
When we quit last time the loco was all apart and ready for the strip bath. In this installment we will disassemble the tender so that the tender shell can be stripped as well.
A note on paint stripping, I use 91% IPA (alcohol) available at any pharmacy. Be careful with it, though because plastic parts left in the alcohol too long will tend to soften. While I was stripping the loco I managed to break off one boiler stay (the rod that goes from the smokebox to the front of the pilot deck), the pilot and the bell. All of these will have to be replaced, I was going to replace the bell anyway because the one that comes on the loco looks awful big and clunky, but it also warped the loco body a bit.
At any rate, when we last saw the tender we had the trucks removed. All that is left to do is remove the red brush retainer:
and then the brushes. I work a jewelers screwdriver underneath them to pry them up, this keeps them from bending so that they will lay flat along the tender bottom when they are reinstalled.
After the brushes are removed, run a #11 Xacto blade around the perimeter of the weight on the front and pry it out.
The motor fills the entire tender, which is why the tender is slightly oversize for the model - it had to be in order to fit the motor.
Pull the motor out of the tender body part-way. It will slide all the way out but first...
you want to mark the top of it. If the motor goes in upside down the loco will run backwards, easy to fix for sure but just as easy to prevent in the first place. A dab of paint on the top as you pull the motor out and you will know right away how to put it back in.
The tender shell is now ready for stripping. Put all of the other pieces in your parts box, minding that the motor magnets will attract all the steel screws and side rods that we took off of the loco in the last installment. A plastic bag to hold the screws is not a bad idea anyway, and it will keep them from sticking to the motor.
I found it interesting to note that the loco body was molded in white, but the dome and stack were black plastic. I also found it interesting that the tender body was molded in clear plastic.
Now is a good time to paint the tender, but I would hold off on painting the loco until the narrowing is complete. You are going to be grinding into the wheel wells, and fresh paint will just get ruined in the process. The tender can go back together except for the trucks after the paint is dry.
That's enough for today. Next time we will narrow the wheels, pony truck and loco frame and then we will narrow the loco wheel wells to fit the new narrowed drivers. After that the loco can get painted and go back together.
See you next time!
A note on paint stripping, I use 91% IPA (alcohol) available at any pharmacy. Be careful with it, though because plastic parts left in the alcohol too long will tend to soften. While I was stripping the loco I managed to break off one boiler stay (the rod that goes from the smokebox to the front of the pilot deck), the pilot and the bell. All of these will have to be replaced, I was going to replace the bell anyway because the one that comes on the loco looks awful big and clunky, but it also warped the loco body a bit.
At any rate, when we last saw the tender we had the trucks removed. All that is left to do is remove the red brush retainer:
and then the brushes. I work a jewelers screwdriver underneath them to pry them up, this keeps them from bending so that they will lay flat along the tender bottom when they are reinstalled.
After the brushes are removed, run a #11 Xacto blade around the perimeter of the weight on the front and pry it out.
The motor fills the entire tender, which is why the tender is slightly oversize for the model - it had to be in order to fit the motor.
Pull the motor out of the tender body part-way. It will slide all the way out but first...
you want to mark the top of it. If the motor goes in upside down the loco will run backwards, easy to fix for sure but just as easy to prevent in the first place. A dab of paint on the top as you pull the motor out and you will know right away how to put it back in.
The tender shell is now ready for stripping. Put all of the other pieces in your parts box, minding that the motor magnets will attract all the steel screws and side rods that we took off of the loco in the last installment. A plastic bag to hold the screws is not a bad idea anyway, and it will keep them from sticking to the motor.
I found it interesting to note that the loco body was molded in white, but the dome and stack were black plastic. I also found it interesting that the tender body was molded in clear plastic.
Now is a good time to paint the tender, but I would hold off on painting the loco until the narrowing is complete. You are going to be grinding into the wheel wells, and fresh paint will just get ruined in the process. The tender can go back together except for the trucks after the paint is dry.
That's enough for today. Next time we will narrow the wheels, pony truck and loco frame and then we will narrow the loco wheel wells to fit the new narrowed drivers. After that the loco can get painted and go back together.
See you next time!
Saturday, April 21, 2012
4-4-0 Conversion, Part 1
The victim:
This is the Bachmann 4-4-0 in N scale, in the old Jupiter paint. Note the large drive shaft between the loco and tender. The newer versions of this model have a thinner driveshaft and the paint is in blue and red to more accurately depict the Jupiter as she is now believed to have looked on the day of the golden spike ceremony at Promontory Point, Utah.
The Bachmann 4-4-0 comes in several paint schemes and in a couple of different configurations; straight stack and balloon stack. Older versions of the loco can sometimes be found for a fairly cheap price at train shows, but I have seen them go for ridiculously high amounts on that well-known auction site. If you can find one that runs decently for cheap it is an inexpensive way to get into Nn3, but be warned...it's a gateway locomotive. Before you know it you will be ordering kits from Republic Locomotive Works, then you will be getting Marklin Z scale mechanisms for your conversions, and then it's all downhill from there. But I digress.
The first step is to disassemble the locomotive. First remove the tender coupling screw:
Set the tender aside. Remove the bottom plate screw on the locomotive:
Next, remove the bottom plate and swing the drivers out of the way. The worm gear can be pushed out of the back of the locomotive.
Now pry the supports out of the valve gear hangers:
The steam chests will slide off of their tabs on the locomotive body.
Put the locomotive body, worm gear and bottom plate into your parts box. You will deal with them later. For now we will continue the disassembly of the running gear.
Remove all four screws from the drivers and remove the side rods. Be careful not to lose any of these screws! Put them and the side rods into your parts box.
Now remove the pony truck from the valve gear. You might find it easiest to cut one of the connecting bars to do this.
Now pry one of the wheels off of each axle and remove the axle from the pony truck frame.
This completes the disassembly of the running gear. Put everything into your parts box, we will disassemble the tender next.
Remove the tender truck screws and lift the trucks off of the tender. Mind the truck springs, there are two of them for each truck and they will get lost very easily.
Next remove the coupler from the coupler pocket. You will be fitting a Z scale coupler when you are all done, so these parts will not be used again.
Note the coupler spring...looks a lot like a truck spring, doesn't it? It can be used as one in a pinch.
The tender body does not have to be disassembled any further than this, it contains the motor and that is about it. If you want to take it apart to paint it be sure to mark the motor so that it goes back in the same way, if it goes in upside down the locomotive will run backwards. I'm going to take this one apart so that the tender can be stripped, but not today. Put everything in your parts box, we're done for today.
The locomotive body can be stripped for painting as is, the only thing left to do if you must is remove the weight from the cab. It is glued in place, work a #11 Xacto blade in and around it to break the glue bond and it will slide right out. We won't be covering that, I'm sure you can figure it out on your own.
In the next installment we will disassemble the tender so that it can be stripped for painting. In the third installment we will be narrowing the locomotive drivers and bottom plate and cutting into the locomotive body to fit them. After that we will narrow the pony truck, put everything back together, and then the locomotive will be done. In the fourth installment we will reassemble the tender body, narrow the tender trucks and install the Z scale coupler, and then we will join the tender and locomotive back together and we will be done.
Or, at least, that's the way I have it planned out.
It should be fun!
This is the Bachmann 4-4-0 in N scale, in the old Jupiter paint. Note the large drive shaft between the loco and tender. The newer versions of this model have a thinner driveshaft and the paint is in blue and red to more accurately depict the Jupiter as she is now believed to have looked on the day of the golden spike ceremony at Promontory Point, Utah.
The Bachmann 4-4-0 comes in several paint schemes and in a couple of different configurations; straight stack and balloon stack. Older versions of the loco can sometimes be found for a fairly cheap price at train shows, but I have seen them go for ridiculously high amounts on that well-known auction site. If you can find one that runs decently for cheap it is an inexpensive way to get into Nn3, but be warned...it's a gateway locomotive. Before you know it you will be ordering kits from Republic Locomotive Works, then you will be getting Marklin Z scale mechanisms for your conversions, and then it's all downhill from there. But I digress.
The first step is to disassemble the locomotive. First remove the tender coupling screw:
Set the tender aside. Remove the bottom plate screw on the locomotive:
Next, remove the bottom plate and swing the drivers out of the way. The worm gear can be pushed out of the back of the locomotive.
Now pry the supports out of the valve gear hangers:
The steam chests will slide off of their tabs on the locomotive body.
Put the locomotive body, worm gear and bottom plate into your parts box. You will deal with them later. For now we will continue the disassembly of the running gear.
Remove all four screws from the drivers and remove the side rods. Be careful not to lose any of these screws! Put them and the side rods into your parts box.
Now remove the pony truck from the valve gear. You might find it easiest to cut one of the connecting bars to do this.
Now pry one of the wheels off of each axle and remove the axle from the pony truck frame.
This completes the disassembly of the running gear. Put everything into your parts box, we will disassemble the tender next.
Remove the tender truck screws and lift the trucks off of the tender. Mind the truck springs, there are two of them for each truck and they will get lost very easily.
Next remove the coupler from the coupler pocket. You will be fitting a Z scale coupler when you are all done, so these parts will not be used again.
Note the coupler spring...looks a lot like a truck spring, doesn't it? It can be used as one in a pinch.
The tender body does not have to be disassembled any further than this, it contains the motor and that is about it. If you want to take it apart to paint it be sure to mark the motor so that it goes back in the same way, if it goes in upside down the locomotive will run backwards. I'm going to take this one apart so that the tender can be stripped, but not today. Put everything in your parts box, we're done for today.
The locomotive body can be stripped for painting as is, the only thing left to do if you must is remove the weight from the cab. It is glued in place, work a #11 Xacto blade in and around it to break the glue bond and it will slide right out. We won't be covering that, I'm sure you can figure it out on your own.
In the next installment we will disassemble the tender so that it can be stripped for painting. In the third installment we will be narrowing the locomotive drivers and bottom plate and cutting into the locomotive body to fit them. After that we will narrow the pony truck, put everything back together, and then the locomotive will be done. In the fourth installment we will reassemble the tender body, narrow the tender trucks and install the Z scale coupler, and then we will join the tender and locomotive back together and we will be done.
Or, at least, that's the way I have it planned out.
It should be fun!
Thursday, April 19, 2012
Stay Tuned
The Bachmann has arrived for its transformation, which will begin this week. It runs OK but could probably use a good cleaning and oiling. It will certainly get that during the conversion.
Saturday, April 14, 2012
Double Trouble
The new Consolidation has arrived.
With this one I installed Z scale couplers front and rear. The front was surprisingly easy to do, the dummy has to be removed and the sides and bottom of the coupler box needs to be removed. The Z scale coupler slides right into the hole after that...too far, in fact, when fully seated it hits the pony truck.
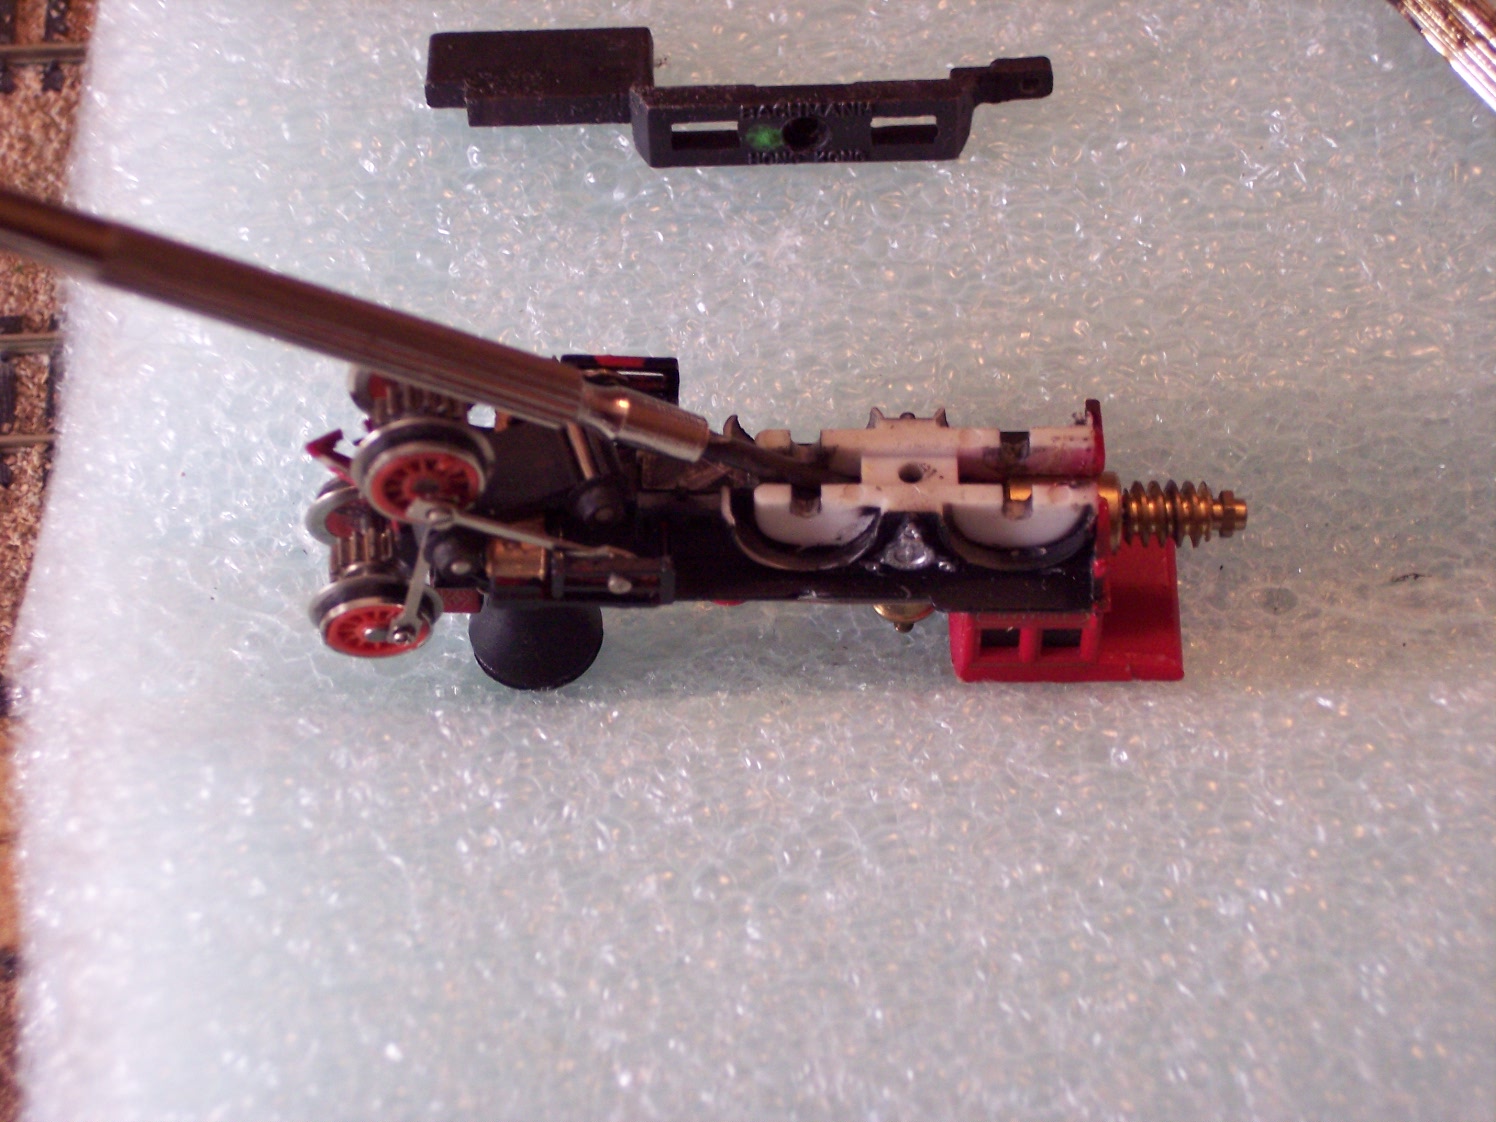
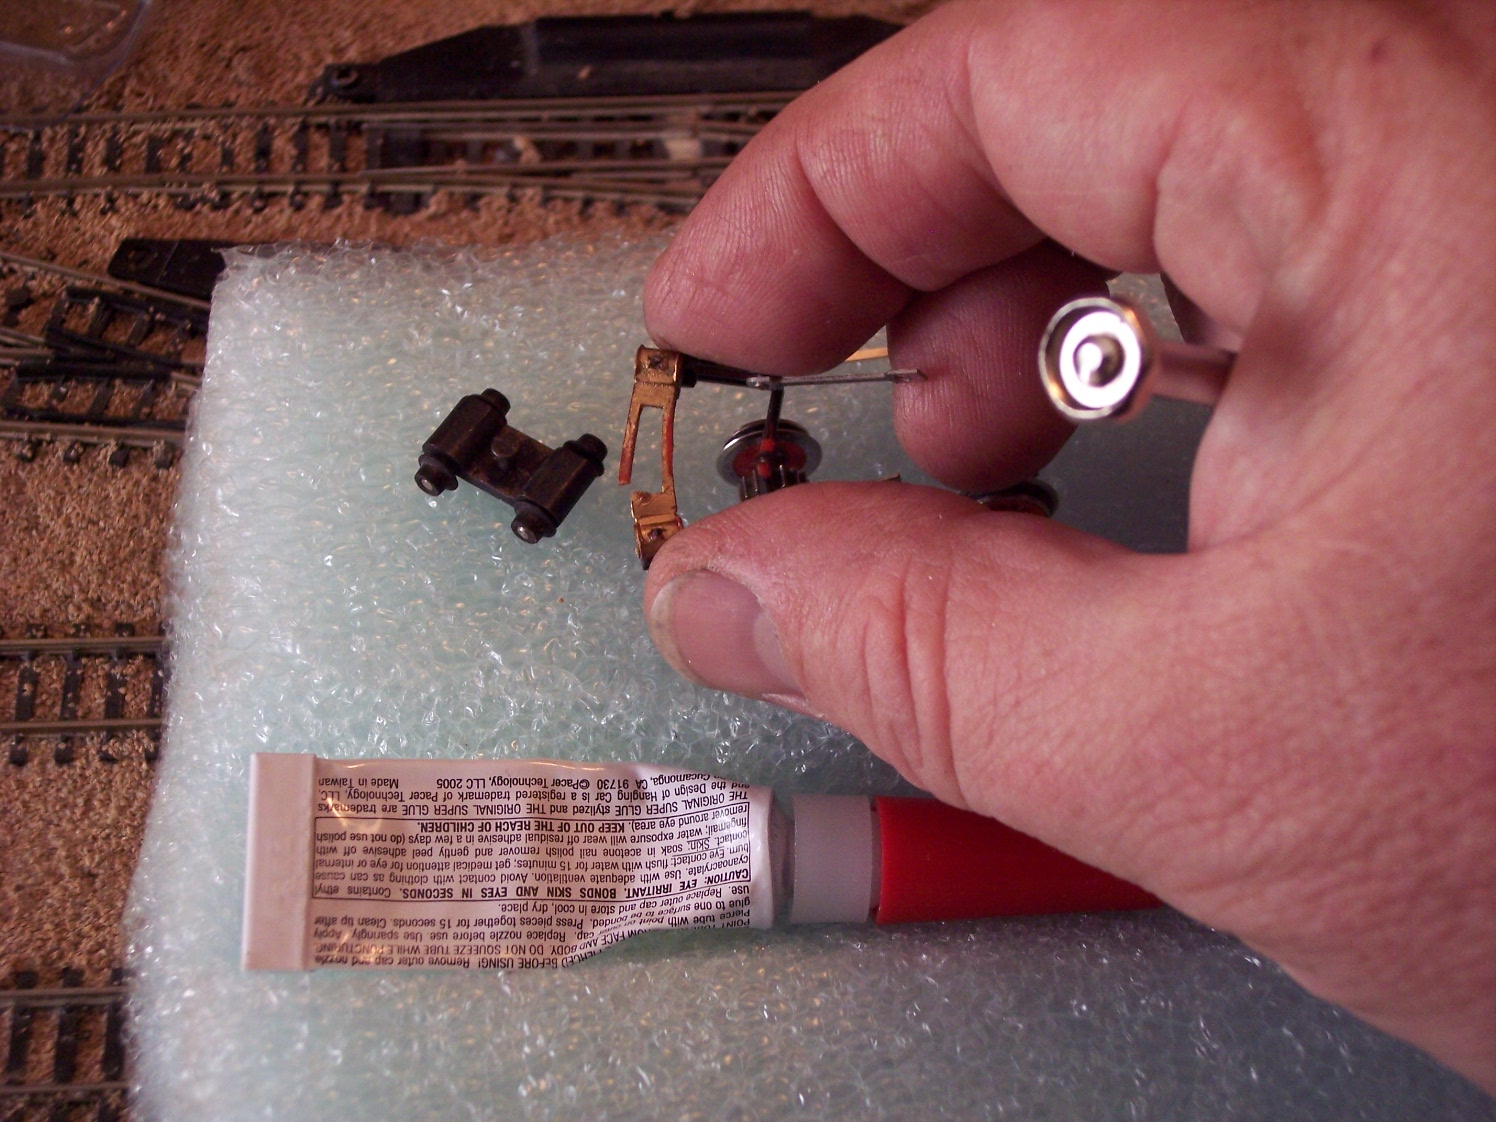
I tried modifying the pony truck. Don't. If you carve any of the plastic off you soon find that it is merely a clip that holds the pony truck wheels on the metal frame. I had to glue the plastic piece back on, not easy to do without gluing the wheels to the frame as well. I did, fortunately, manage to get that done.
The next thing to do is carve the rear of the coupler box away. This works, but makes the coupler droop slightly. A bit of judicious filing on the top of the coupler opening angles the coupler up just a tiny bit which, when combined with the droop, levels it out quite nicely.
The N scale coupler recommended for the back of the Connie has an offset that lifts it above the bottom of the tender frame. I had to carve a bit out of the bottom of the tender at the coupler box in order to install the Z scale coupler, but it is at the right height and I really like the way it looks.
I haven't installed a Z scale coupler into Connie #1, and I may not bother, but it is nice to see it can be done without a great deal of effort. It would be even nicer if Bachmann (and all the rest of the steam manufacturers) could be convinced to leave adequate room to install them without having to go through all the bother.
With the couplers installed it was off to the track. Running them together uncoupled shows that Connie 1 is a bit slower off the mark than the new one but a bit faster at the top of the throttle settings. Both run well but Connie 2 isn't as agile in the curves, I had to do a bit of filing on the cylinders to keep the metal pony truck from shorting out on them.
With that done the two locos coupled together ran well, Connie 1 in the lead and 2 in the trail due to the coupler configuration. Either alone runs great, together they pulled a 20 car freight without breaking a sweat and would have pulled more if I had bothered to take anything else out of the boxes.
The next thing to do will be to remove the ATSF markings from Connie 2, something that will get done as soon as I decide to take the time to do so.
With this one I installed Z scale couplers front and rear. The front was surprisingly easy to do, the dummy has to be removed and the sides and bottom of the coupler box needs to be removed. The Z scale coupler slides right into the hole after that...too far, in fact, when fully seated it hits the pony truck.
I tried modifying the pony truck. Don't. If you carve any of the plastic off you soon find that it is merely a clip that holds the pony truck wheels on the metal frame. I had to glue the plastic piece back on, not easy to do without gluing the wheels to the frame as well. I did, fortunately, manage to get that done.
The next thing to do is carve the rear of the coupler box away. This works, but makes the coupler droop slightly. A bit of judicious filing on the top of the coupler opening angles the coupler up just a tiny bit which, when combined with the droop, levels it out quite nicely.
The N scale coupler recommended for the back of the Connie has an offset that lifts it above the bottom of the tender frame. I had to carve a bit out of the bottom of the tender at the coupler box in order to install the Z scale coupler, but it is at the right height and I really like the way it looks.
I haven't installed a Z scale coupler into Connie #1, and I may not bother, but it is nice to see it can be done without a great deal of effort. It would be even nicer if Bachmann (and all the rest of the steam manufacturers) could be convinced to leave adequate room to install them without having to go through all the bother.
With the couplers installed it was off to the track. Running them together uncoupled shows that Connie 1 is a bit slower off the mark than the new one but a bit faster at the top of the throttle settings. Both run well but Connie 2 isn't as agile in the curves, I had to do a bit of filing on the cylinders to keep the metal pony truck from shorting out on them.
With that done the two locos coupled together ran well, Connie 1 in the lead and 2 in the trail due to the coupler configuration. Either alone runs great, together they pulled a 20 car freight without breaking a sweat and would have pulled more if I had bothered to take anything else out of the boxes.
The next thing to do will be to remove the ATSF markings from Connie 2, something that will get done as soon as I decide to take the time to do so.
Subscribe to:
Posts (Atom)